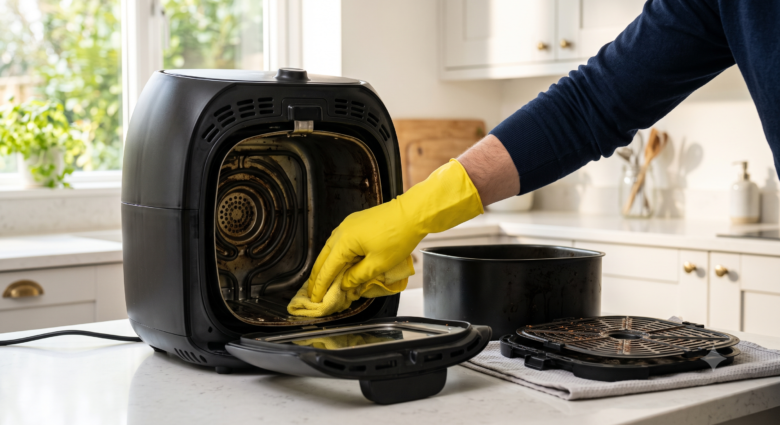
Keeping your air fryer clean isn’t just about making it look good—it directly affects cooking performance, food quality, and the lifespan of the appliance. Over time, grease, food particles, and burnt residue build up inside areas that aren’t always visible.This buildup is one of the most common reasons an appliance begins smoking during cooking. Learn more in our guide Air Fryer Smoking? Causes and Fixes. If left unchecked, this buildup can cause unpleasant odors, smoke during cooking, uneven heating, and even unexpected shutdowns.
While most people remember to wash the basket after cooking, far fewer realize that the heating element, fan area, and air vents also require regular maintenance. Deep cleaning these parts safely helps your air fryer operate more efficiently and reduces the risk of many common problems.
In this guide, you’ll learn exactly how to deep clean an air fryer step by step, which cleaning products are safe to use, what mistakes to avoid, and how to keep your appliance performing like new for years.
Why Deep Cleaning Your Air Fryer Matters
A quick rinse of the basket after each meal is a good habit, but it’s only part of proper maintenance. During cooking, tiny grease droplets circulate with the hot air and gradually stick to the interior walls, heating element, and fan housing.
This hidden buildup can lead to several issues, including:
- Smoke during cooking
- Burnt food residue affecting flavor
- Unpleasant odors
- Reduced airflow
- Longer cooking times
- Uneven cooking
- Increased wear on internal components
If your appliance develops an unusual plastic smell, read Air Fryer Smells Like Plastic? Here’s Why to identify the most common causes.
Regular deep cleaning removes this buildup before it becomes a problem.
It also supports food safety by reducing the chance of old grease or food residue contaminating future meals.
Excessive grease can contribute to overheating, which may cause your appliance to switch off unexpectedly. Read Air Fryer Keeps Shutting Off? 9 Causes and Easy Fixes for more information.
How Often Should You Deep Clean an Air Fryer?
The ideal cleaning schedule depends on how often you use your air fryer and the types of food you cook.
| Usage | Deep Cleaning Frequency |
|---|---|
| Daily use | Every 2–4 weeks |
| 3–5 times per week | Once a month |
| Once or twice per week | Every 6–8 weeks |
| Occasional use | Every 2–3 months |
Foods such as bacon, chicken wings, sausages, burgers, and fatty cuts of meat produce more grease and may require more frequent deep cleaning.
Even if your air fryer appears clean, invisible grease can still accumulate around the heating element and air circulation system.
Supplies You’ll Need
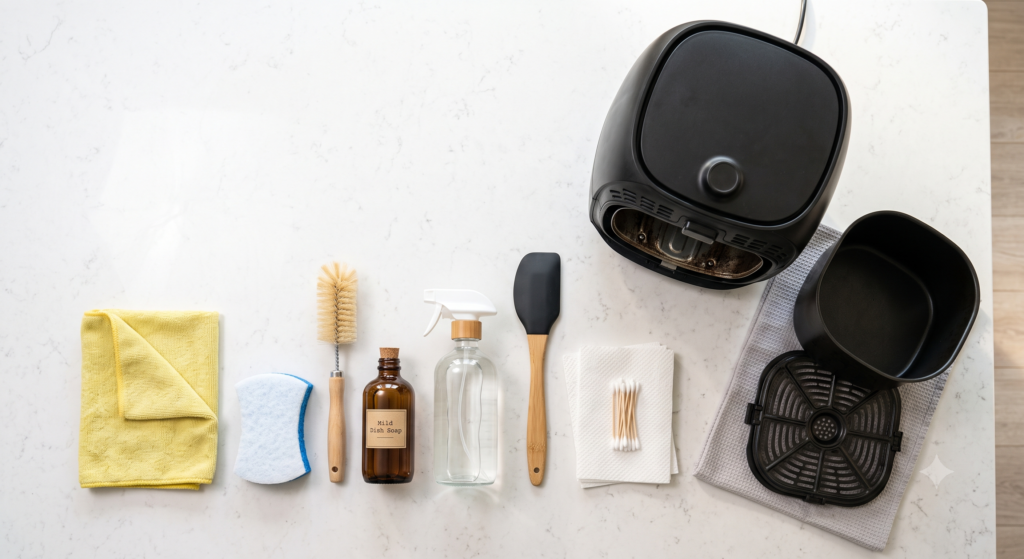
Before you begin, gather the following items:
- Soft microfiber cloth
- Non-abrasive sponge
- Soft-bristle brush or old toothbrush
- Mild dish soap
- Warm water
- Wooden or silicone spatula
- Paper towels
- Cotton swabs (optional)
- Spray bottle with water (optional)
Avoid using harsh chemicals or abrasive tools that could damage the non-stick coating.
What You Should Never Use
Certain cleaning products can permanently damage your air fryer.
Never use:
- Steel wool
- Metal scrubbers
- Bleach
- Oven cleaner
- Abrasive cleaning powders
- Sharp metal tools
- Pressure washers
- Excessive amounts of water inside the appliance
If food residue is difficult to remove, soaking removable parts in warm soapy water is much safer than scrubbing aggressively.
Step-by-Step: How to Deep Clean an Air Fryer
Step 1 – Unplug the air fryer.
Safety comes first.
Always disconnect the appliance from the power outlet before cleaning.
Allow it to cool completely before touching any internal components.
Depending on recent use, this may take 30–45 minutes.
Step 2 – Remove the Basket and Drawer
Take out all removable parts.
These usually include:
- Basket
- Drawer
- Crisper plate (if included)
- Grill rack or accessories
Inspect each part for grease buildup and burnt food residue.
Step 3 – Wash the Removable Parts
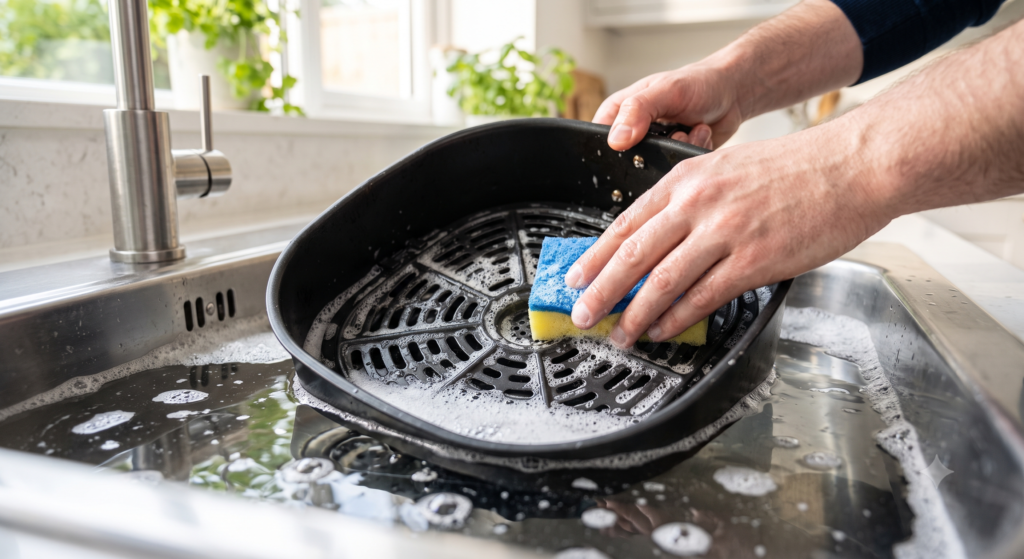
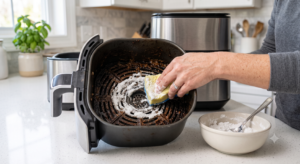
Fill your sink with warm water and a small amount of mild dish soap.
Allow the basket and drawer to soak for 10–15 minutes if grease has hardened.
Use a soft sponge to clean every surface.
Pay extra attention to:
- Basket corners
- Airflow holes
- Handle joints
- Crisper plate edges
Rinse thoroughly and dry with a microfiber towel.
Step 4 – Clean the Interior Cooking Chamber
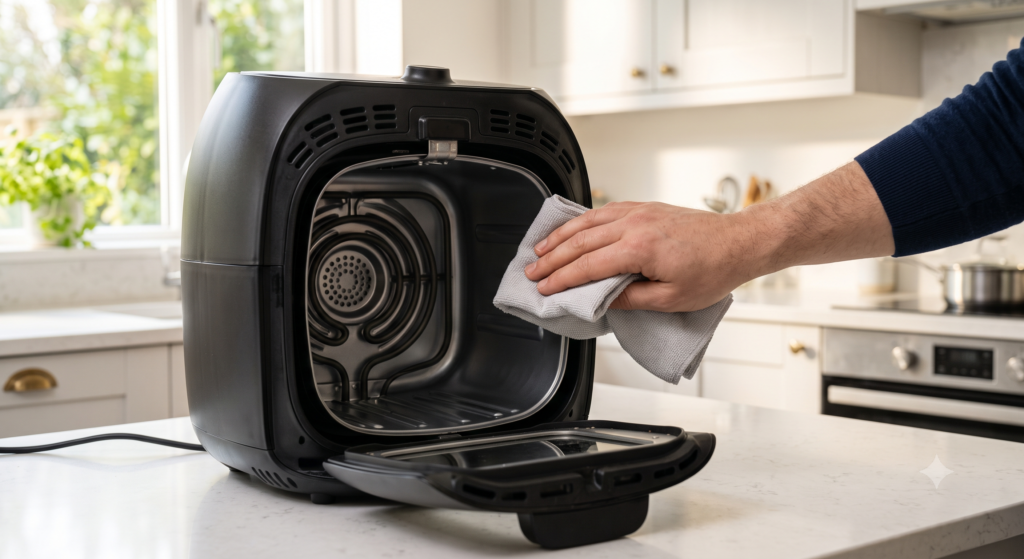
Most people stop after washing the basket, but the cooking chamber also needs regular attention.
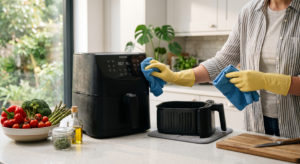
Using a damp microfiber cloth, gently wipe the following:
- Side walls
- Back wall
- Bottom of the chamber
- Door seals (if applicable)
Do not pour water directly inside the appliance.
Instead, wring out the cloth well before wiping.
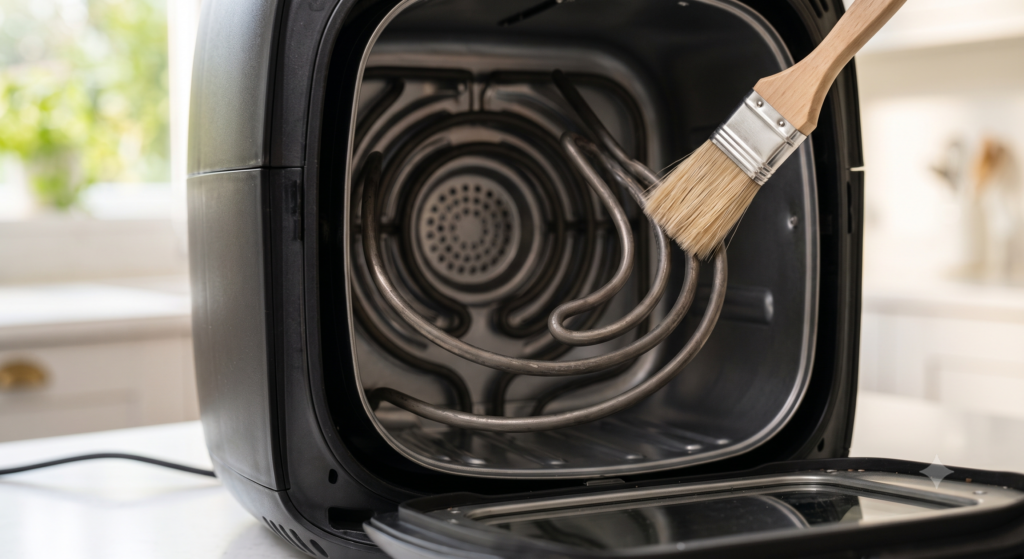
If stubborn grease remains, use a soft brush dipped in warm soapy water.
Step 5 – Inspect the Air Vents
Good airflow is essential for efficient cooking.
Check the rear and side ventilation openings for dust, grease, or lint.
Use a dry, soft brush or microfiber cloth to remove debris.
Never insert sharp tools into the vents.
Blocked air vents can contribute to overheating, poor cooking performance, and unexpected shutdowns.
Clean air vents also help protect the cooling fan. If airflow problems continue after cleaning, see Air Fryer Fan Not Working? Easy Fixes.
Continue in Part 2
In the second half of this guide, we’ll cover:
- How to safely clean the heating element
- How to remove burnt grease without damaging the coating
- Cleaning the fan area
- Professional maintenance tips
- A printable air fryer cleaning schedule
- Common cleaning mistakes to avoid
- Frequently Asked Questions
- Natural internal links to your existing troubleshooting articles