An air fryer is one of the easiest kitchen appliances to maintain, but many owners are unsure how often it actually needs cleaning. Some people wash only the basket after cooking, while others wait until grease, smoke, or unpleasant odors become impossible to ignore.
The truth is that regular cleaning is essential for keeping your air fryer working efficiently, producing better-tasting food, and lasting for many years. A simple maintenance routine can prevent grease buildup, reduce smoke, improve airflow, and even help avoid common performance issues.
For a complete cleaning process, read our How to Deep Clean an Air Fryer (Easy Step-by-Step Guide).
In this guide, you’ll learn exactly how often each part of your air fryer should be cleaned, what tasks should be done after every use, weekly, monthly, and seasonally, and the warning signs that tell you it’s time for a deeper clean.
Why Cleaning Frequency Matters
Every time you cook, tiny grease particles and food residue circulate inside the cooking chamber. While most of the grease collects in the basket or drawer, some sticks to the interior walls, heating element, and air vents.
Excess grease is one of the leading causes of smoke during cooking. Learn more in Air Fryer Smoking? Causes and Fixes.
Over time, this buildup can cause:
- Smoke during cooking
- Unpleasant odors
- Reduced airflow
- Uneven cooking
- Longer cooking times
- Extra strain on the heating element and fan
Cleaning your air fryer regularly not only keeps it hygienic but also helps maintain consistent cooking performance.
What Should You Clean After Every Use?
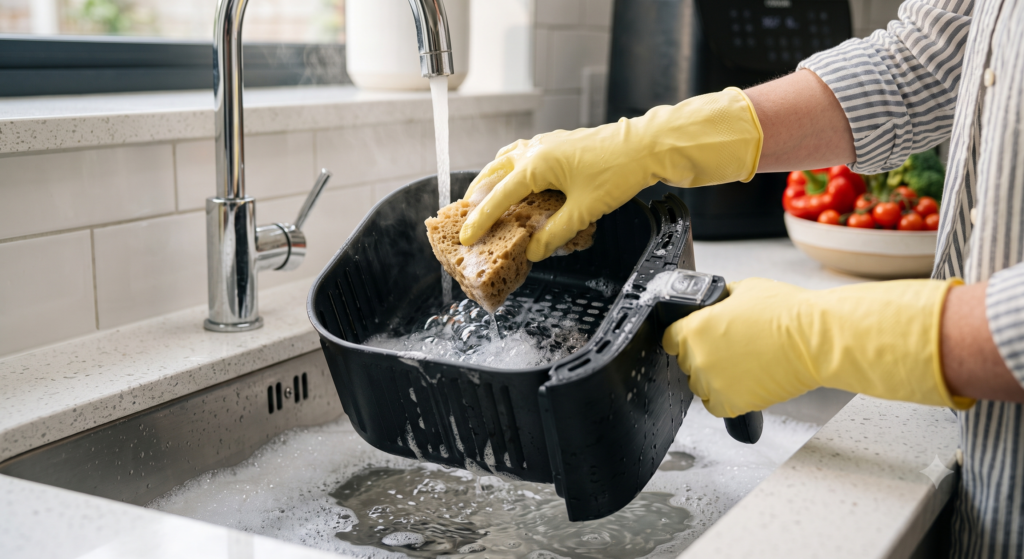
Some parts should be cleaned every time you cook, even if the appliance doesn’t look dirty.
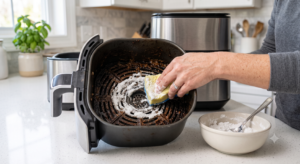
Basket
The basket collects grease, crumbs, and food residue.
Wash it using:
- Warm water
- Mild dish soap
- A soft sponge
Avoid abrasive scrubbers that could damage the non-stick coating.
Drawer
The drawer often contains grease that drips from food during cooking.
Wash it at the same time as the basket and dry it completely before reassembling the appliance.
Crisper Plate or Grill Rack
If your air fryer includes a crisper plate or grill rack, remove and wash it after every use.
Food trapped in small holes can quickly become burnt during future cooking sessions.
Wipe Away Fresh Grease
Before putting the appliance away, wipe away any visible grease from the inside of the cooking chamber using a slightly damp microfiber cloth.
Fresh grease is much easier to remove than hardened residue.
Weekly Cleaning Tasks
If you use your air fryer several times each week, a quick weekly maintenance routine can prevent stubborn grease buildup.
Clean the Interior Walls
Using a damp microfiber cloth, wipe:
- Side walls
- Bottom of the cooking chamber
- Door or lid (if applicable)
Avoid excessive moisture.
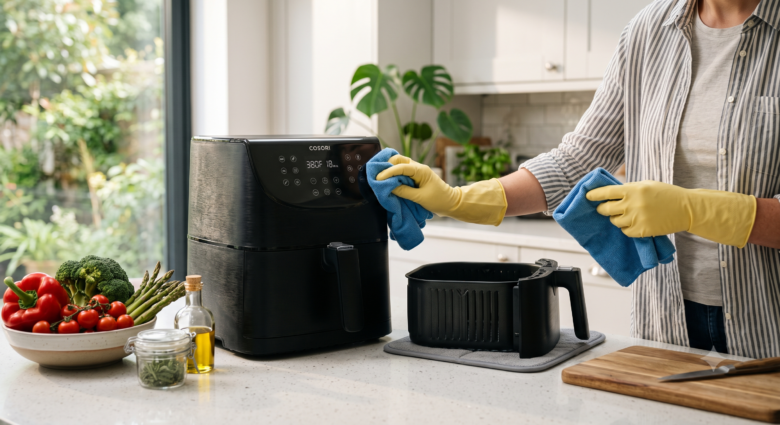
Clean the Exterior
Grease and fingerprints can accumulate on the outside of the appliance.
Wipe the exterior using a soft cloth and mild soapy water.
Never spray cleaner directly onto the appliance.
Check the Air Vents
Dust and grease around the ventilation openings reduce airflow.
Inspect the rear and side vents.
Remove dust carefully using a dry brush or microfiber cloth.
Monthly Deep Cleaning
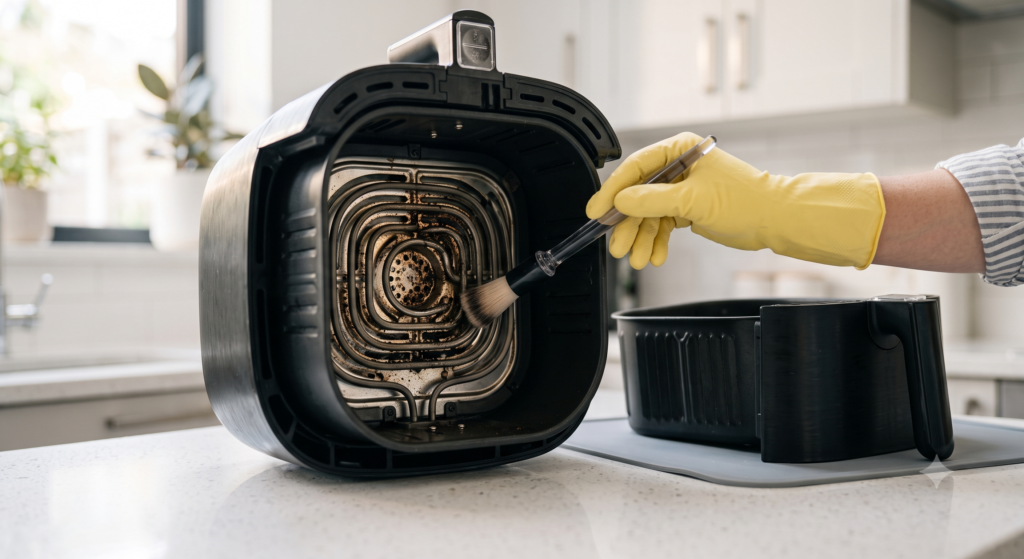
A monthly deep clean removes grease from areas that are often overlooked during everyday cleaning.
If stubborn grease has already built up, follow our guide on How to Remove Burnt Grease from an Air Fryer Safely.
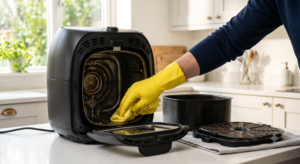
Clean the Heating Element
Once the appliance has completely cooled:
- Unplug it.
- Turn it upside down if recommended by the manufacturer.
- Use a soft brush to remove loose crumbs.
- Wipe carefully with a slightly damp microfiber cloth.
Never pour water directly onto the heating element.
For detailed instructions, read our guide on How to Deep Clean an Air Fryer (Easy Step-by-Step Guide).
Remove Burnt Grease
Inspect:
- Basket corners
- Drawer edges
- Heating chamber
- Airflow holes
If burnt grease has developed, use the safe methods explained in our guide on How to Remove Burnt Grease from an Air Fryer Safely.
Inspect the Fan Area
Although the fan is not directly accessible on most models, look for signs of grease buildup near the fan housing.
If you notice unusual noises or poor airflow, additional maintenance may be needed.
Cleaning Schedule Based on How Often You Cook
The ideal cleaning routine depends on how frequently you use your air fryer.
| Usage | Basket & Drawer | Interior | Deep Clean |
|---|---|---|---|
| Daily | After every use | Weekly | Every 2–4 weeks |
| 3–5 times per week | After every use | Weekly | Once a month |
| 1–2 times per week | After every use | Every two weeks | Every 6–8 weeks |
| Occasional use | After every use | Monthly | Every 2–3 months |
Foods That Require More Frequent Cleaning
Certain foods produce significantly more grease than others.
These include:
- Bacon
- Chicken wings
- Burgers
- Sausages
- Duck
- Fatty steaks
- Breaded foods
After cooking these foods, inspect the basket and drawer carefully before storing the appliance.
Signs Your Air Fryer Needs Cleaning Immediately
Don’t wait for your regular cleaning schedule if you notice any of these warning signs:
- Smoke during cooking
- Strong burnt smell
- Sticky grease inside the basket
- Food cooking unevenly
- Longer cooking times
- Grease around the heating element
- Excess crumbs inside the cooking chamber
Addressing these issues early helps prevent more serious maintenance problems.
Lingering odors may not always come from food residue. Read Air Fryer Smells Like Plastic? Here’s Why for other possible causes.
Common Cleaning Mistakes
Many users accidentally shorten the lifespan of their air fryer by cleaning it incorrectly.
Avoid these mistakes:
- Using steel wool
- Using oven cleaner
- Pouring water into the main unit
- Cleaning while the appliance is still hot
- Reassembling wet parts
- Forgetting to clean the air vents
- Ignoring the heating element
Gentle, regular cleaning is far better than aggressive scrubbing after months of neglect.
A Simple Air Fryer Maintenance Routine
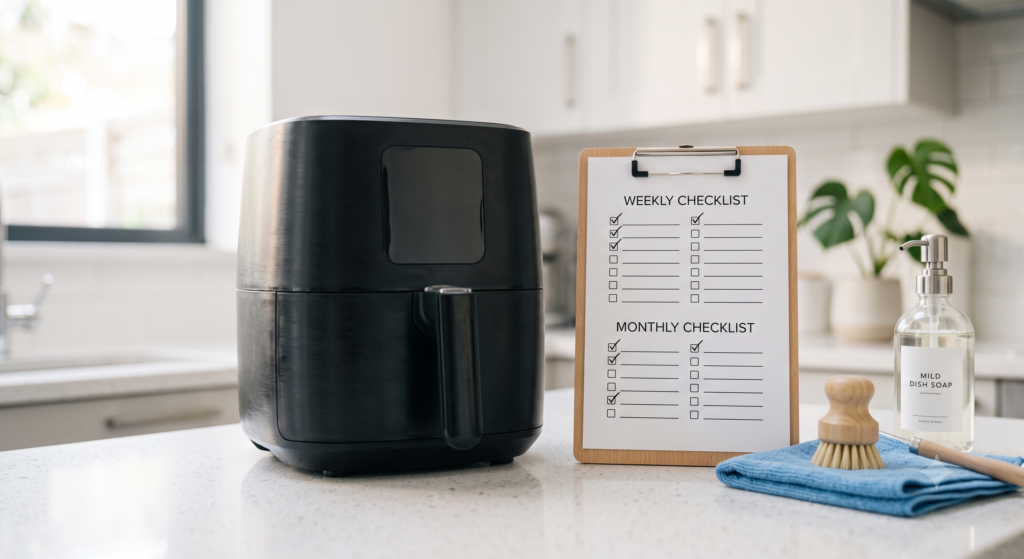
Follow this easy routine to keep your appliance in excellent condition:
After Every Use
- Wash the basket
- Wash the drawer
- Dry all removable parts
- Wipe away fresh grease
Every Week
- Clean the cooking chamber
- Wipe the exterior
- Inspect air vents
Every Month
- Clean the heating element
- Remove burnt grease
- Check the fan area
- Inspect for signs of wear
Sticking to this schedule can significantly improve cooking performance and extend the life of your appliance.
Frequently Asked Questions
Do I need to clean my air fryer after every use?
Yes. Washing the basket and drawer after each use prevents grease and food residue from hardening.
How often should I deep clean my air fryer?
For most households, once a month is sufficient. If you cook greasy foods frequently, deep clean every two to four weeks.
Can I skip cleaning if I only cooked vegetables?
Even vegetables leave behind oils and small food particles. A quick clean after every use is still recommended.
What happens if I don’t clean my air fryer?
Neglecting regular cleaning can lead to smoke, unpleasant odors, uneven cooking, reduced efficiency, and premature wear on internal components.
Keep Your Air Fryer Performing at Its Best
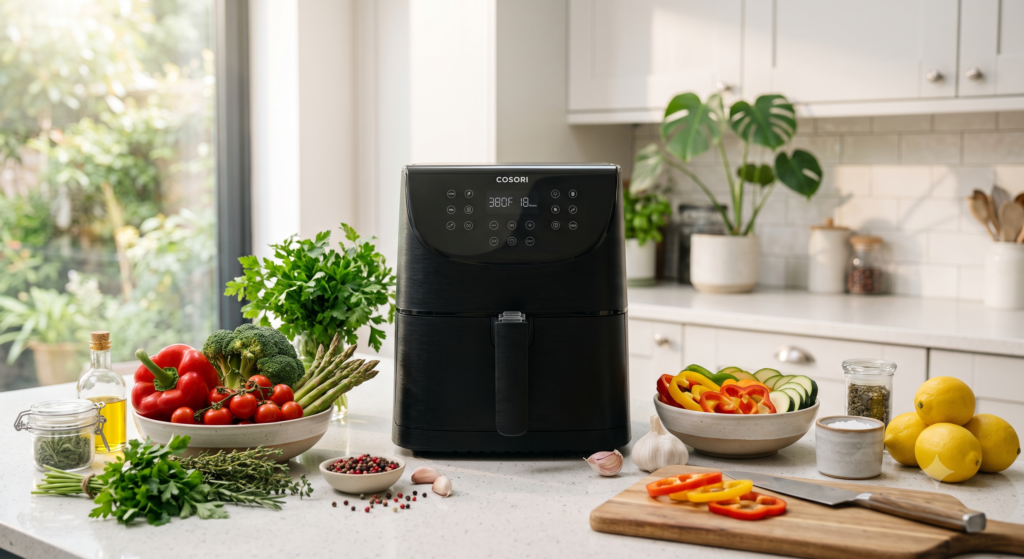
Cleaning your air fryer doesn’t have to be time-consuming. A few minutes after each meal, combined with a monthly deep clean, can prevent many of the most common problems owners experience.
By following a simple maintenance schedule, you’ll enjoy better-tasting food, more consistent cooking results, and a longer-lasting appliance. Regular care also helps reduce smoke, eliminate stubborn grease, and keep every meal as enjoyable as the first.
To complete your maintenance routine, explore our related guides on How to Deep Clean an Air Fryer (Easy Step-by-Step Guide) and How to Remove Burnt Grease from an Air Fryer Safely, where you’ll find detailed cleaning methods for every part of your appliance.